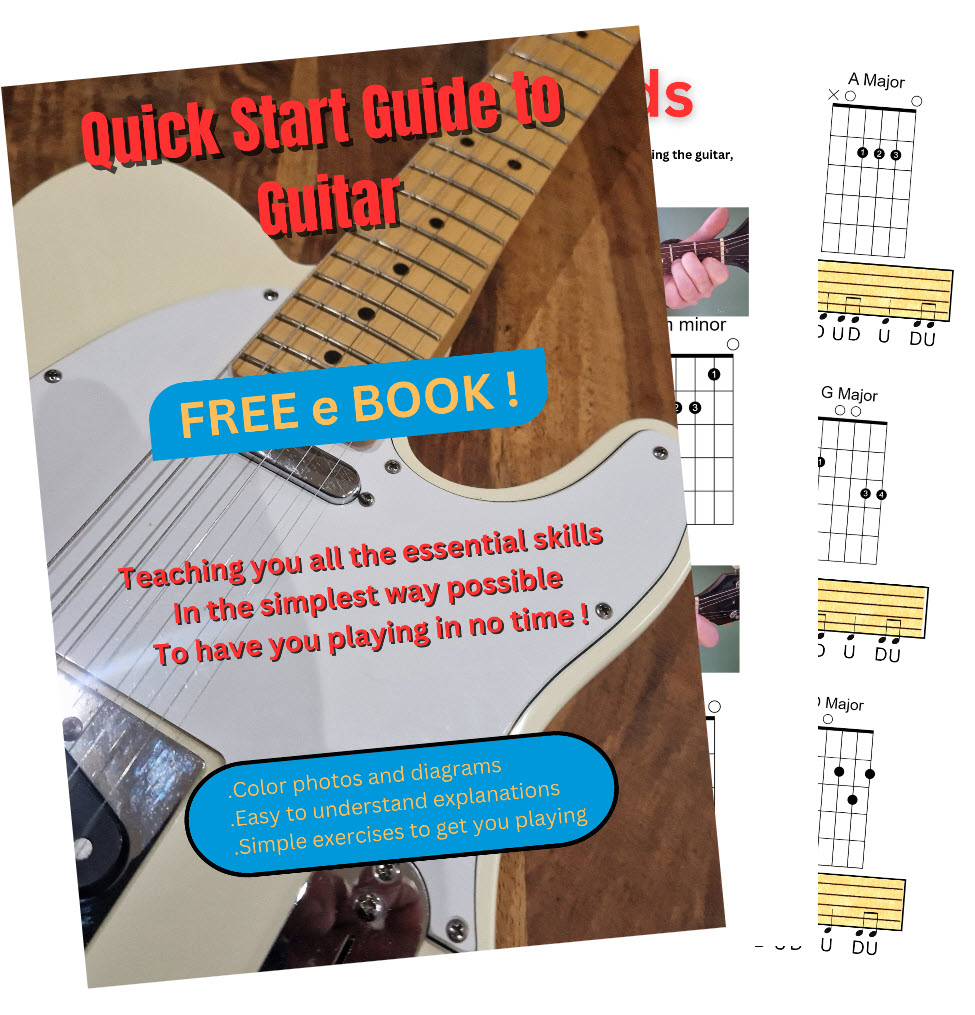
3 February 2012

Blues Guitar Solos – 5 Tips on Phrasing

Blues guitar phrasing is something I have to work on all the time. If I don’t pay attention then it’s too easy to get into bad habits, so it’s always useful to have a checklist of things to do… or not do… to keep your phrasing in good shape and avoid problems.


Here’s a nice video that offers 5 useful tips to get your phrasing into shape and keep it there (you might need to click here to see it on the blog if you’re reading this in a feed reader).


Here’s a short summary of the tips from this video.


1. Repeat ideas

Repetition is one of the fundamental elements of music. Build your solos out of blocks of only a few notes, and repeat them to draw in the listener. Use only a few notes and work them hard to create the most you can out of them.


2. Open up space

Use rests to create space in your music. It gives you time to come up with something new and heightens tension in the music.


3. Sing the notes you play

As Marty put it, singing the notes you play “connects with that inner music inside of you, that is a really good thing.” Singing also forces you to breath and introduces natural pauses that will help you open up space.


4. Dynamics – loud or soft

You can break up monotony in your playing through use of dynamics – how loud or soft you play. Mix things up and don’t just play everything at full blast.


5. Know when to get out

Finally, just like you have to end your phrases to leave space around them, you also need to end your solos to keep something in reserve for the next song.


If you enjoyed these tips then click here to visit Marty’s site for many more great guitar lessons. You can try out lessons free for three days. Note that I partner with GuitarJamz because I enjoy the quality guitar lessons it provides, if you decide to subscribe after following this link I may receive a small commission. You can learn more about Marty’s lessons site by reading my GuitarJamz review.


Oh, and by the way, to get the free jam-track Marty mentioned in the video click this link.

1 February 2012

Guitar Chords – Learn to Finger Major 6th Chord

Last week I posted a lesson on 6th chords. I got a question from a reader struggling with the major 6th chord form with its root on the sixth string, which is admittedly quite hard to play. I struggled for a long time to learn how to play this chord accurately, I think the difficulty comes with the way all four fingers are spread out.


I especially had problems with my third (ring) and fourth (little/pinky) fingers, they would end up on the wrong strings – third finger on the third string and fourth finger on the second string – which sounds terrible.


So here’s a step by step approach that I found really helpful to master this shape.


Grabbing Chords in the Air

I used the “chord grabbing” technique to learn this shape. If you’re not familiar with this technique, then click here to read a post and see a video that demonstrates it. I’ve found it’s a really useful technique for mastering many chords and helps to avoid the problem of having to slowly place fingers one by one.


However, at first I couldn’t get all four fingers into the right shape to grab this chord, so I approached it gradually.


First, I practiced grabbing the two-note shape shown below with just the 2nd and 3rd fingers. After a while my 3rd finger got into the habit of falling on the second string and not the third; my hand “memorized” this spacing.

image

Then I worked on the three-note shape below, adding my first finger to the previous two. This step proved quite easy.


image

Finally I was ready to work on the complete four-note shape, below. I’d still start by grabbing just the two notes with the second and third fingers to warm up, then move on to three fingers and finally all four.

image_thumb1

It took me a while, but this approach eventually got me to the point where I can play this chord shape quite fast without my third and fourth fingers getting on the wrong strings to make a horrible dissonant sound. If you’re finding this chord tough to master then I hope this approach might help you too.


What About You?

Do you have any chord playing problems you’d like help with? I’d love to hear from you, click the comment link below to leave a comment with your question…

30 January 2012

Guitar Exercises – Horizontal Fretboard Movement Part 3, Skipping Positions

This post in the series on horizontal fretboard movement with scales shows some exercises that skip over positions to train your fingers to make larger jumps up and down the guitar neck. This kind of movement will give you a new dimension to develop solos and improvisations.


So far in this series we’ve seen exercises that use use four-note groups from the major and minor pentatonic scales to play licks that move horizontally up and down the strings. Part 1 showed some exercises on minor pentatonic scales. Part 2 worked through some major pentatonic positions. In this part we’re going to work on some exercises that get us making larger jumps up and down the fretboard.


Exercise 1 – E Minor Pentatonic

This exercise walks up and down the E minor pentatonic on the fourth and fifth strings. We start with a four-note box with two open notes, then skip over a position to play a four-note box at the 5th and 7th frets. Then you drop down to fill in the position you skipped over between the 2nd and 5th frets.


This pattern of skipping over a position and then going back to it is repeated throughout the exercise. Focus on transitioning smoothly and accurately into the new position ready to play its four-notes. Use alternate picking throughout.

image

image

Exercise 2 – C Major Pentatonic

This exercise on a C major pentatonic scale follows the same principle as the first one. Each time you move up the fretboard (or down, on the descending part) you skip over a position. Once you get the hang of these large jumps you can quickly move up and down the fretboard to play licks in new registers.

image

image

When you have completed these two exercises you can go further by extending them to other pairs of strings and to other keys. You can also skip over two or more positions as you ascend or descend the guitar neck.


We’ll wrap up this series with a final part that integrates the skills you learn in these exercises into a complete piece. Don’t forget to subscribe to the feed (it’s free) using the link below if you’d like to be notified of the next part.

27 January 2012

Guitar Chords – 6th Chords

This guitar chord lesson for intermediate players introduces sixth chords, shows you some fingerings to play them with and gives you an example progression to practice.


What is a Sixth Chord?

A 6th chord, also known as add6, is a chord built from a basic major or minor chord with a sixth scale degree added. The note formula is root, major or minor 3rd, 5th, 6th.


Sixth Chord Fingerings

The two chord diagrams below show a moveable fingering for the major and minor sixth chords. The root note for both is on the sixth string.


Both use four fingers and can be quite tricky, especially the major shape, so stick with it if it doesn’t come to you easily at first. Practice fingering both shapes up and down the fretboard using the fingers shown by the numbers on the diagrams.

image

Alternative fingerings for the major and minor 6th chords are shown by the diagrams below. Both these fingerings can be moved up and down the guitar neck - the root note occurs on both the first and fourth strings.

image

6th Chord Example

Here's an example progression from a rock song that uses major and minor 6th chords to create a nice walk down on the fourth string. The example is in Em and the chords are Am6 - G6 - F#m6 – Em. The progression can be transposed to any key using the chord formula: iv6 - bIII6 - ii6 – i.

image

25 January 2012

Blues Guitar Licks – Adding Major 3rds to the Blues Scale

The other week I wrote a lesson that showed you how to use the major 3rd note with the minor pentatonic scale in your blues guitar licks. I came across this video lesson on that topic that I thought you might enjoy to see the ideas in that lesson in action.


In this video you’ll see some of the same positions for the major third note in and around the minor pentatonic blues scale and get ideas for using it in blues licks.


For more information…

Subscribe in a reader

Not Playing Guitar

All content copyright (c) 2007-2012, Gary Fletcher. All rights reserved.